Learn important terms and techniques for painting with watercolors.
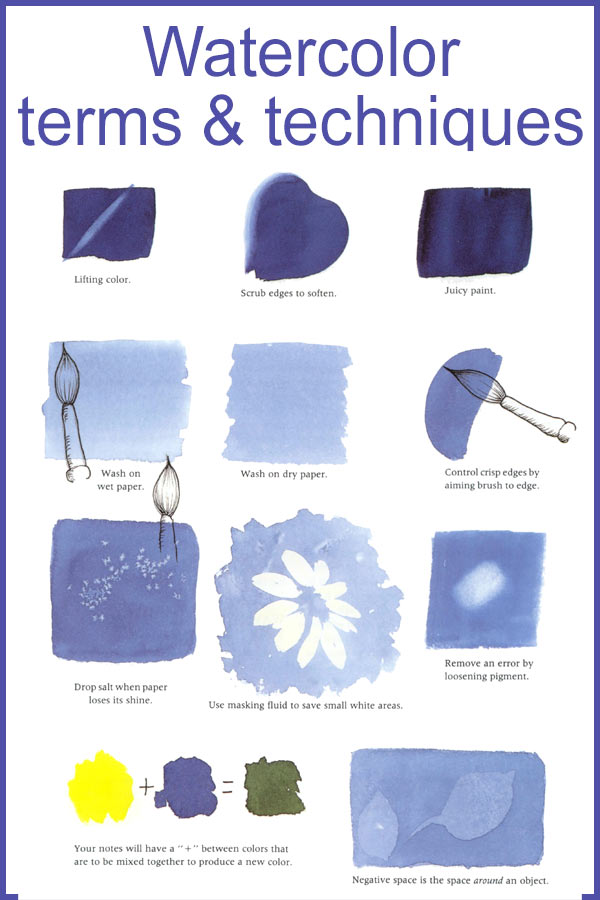
Below are the terms I will most often use in my painting instructions and video tutorials in the Louise Jackson Painting Classes Art Class Membership. These are general terms used in watercolor and acrylic painting. You can refer back to this tutorial if you have any questions when reading my painting instructions.
blending
- Blending refers to softening the transition line, to remove the color line where you want the values to change gradually.
layering
- To work with a layering method, the most important thing is to dry the paper thoroughly before the next layer.
- If the paper is not completely dry, the water inside may mix with the new water and create blooms or lines that you hadn’t planned on.
sideloading
- This creates a stroke of color that is blended on the brush. When applied to paper, one transition line is floating into water.
lift color out
- Use a damp brush.
- Apply the brush to an area.
- Allow the water to loosen the pigment and lift the pigment with a thirsty brush.
scrub the edges to soften
- Use my soft scrubber brush (LJ170-S-10 - LOUISE JACKSON GT SHORT FILBERT) or a worn-down soft synthetic brush.
- Using a damp brush, straddle the hard line that you are trying to soften.
- Gently scrub up and down along the line. It will move a little pigment into the white area and create another value change.
juicy paint
- This is the color of the full-strength pigment.
- Use only enough water to make a thick and juicy paint.
wash
- A thin layer of paint applied as evenly as possible.
- Always work into the wet edge of the paint.
controlling crisp edges
- Aim your round brush to the outside line, and use the point of the brush to achieve a clean edge.
salt technique
- Use only if the instructions mention salt. This may be used in some paintings but not in all.
- When the paper has lost its shine, that is the time to drop the salt in.
- Use regular table salt. Let it dry until it is finished working.
- Use a dryer on it after about ten minutes and then brush off the salt.
using masking fluid
- Coat a wet brush with soap to protect it.
- Dip brush in colorless masking fluid and paint it on the areas on your painting that are to stay white.
- Work for about five minutes, rinse out your brush and recoat it with soap if you need to mask more.
- Do not allow the fluid to begin to dry in your brush—it could ruin it.
- Do not force the fluid dry; allow it to dry naturally. This will only take about fifteen minutes.
remove an error
- Wet the area and allow the water to penetrate the paper.
- As it does. the pigment will begin to float around on the paper.
- Gently loosen it with a soft brush and blot with a tissue.
- You may repeat this as many times as needed to get back to white.
mixes
- When there is a + sign between the color in your instructions that means you should mix the colors together to arrive at the color that you are striving for.
- You need to determine the color by referring to the painting or photo of the step you are on.
- Where there is a comma or hyphen between colors that mean you need to apply each color straight.
dry
- Dry the paper until it is bone dry.
- You will not feel any dampness to it at all.
- This means it is dry inside as well as on the surface.
painting negative space
- Think of this as background. After you have painted the wet stage (your lightest values) you may turn some of these colors into leaves.
- If you paint the background around a leaf shape, then the leaf shape becomes a positive object or shape.
- The background that you painted color into becomes the negative space.
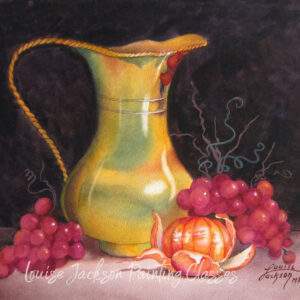
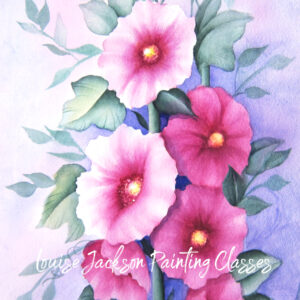
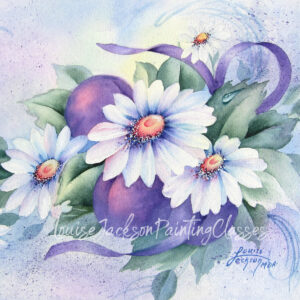
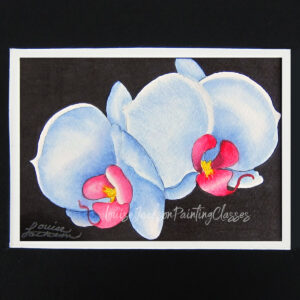
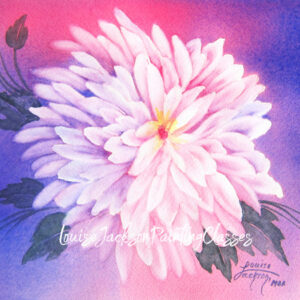
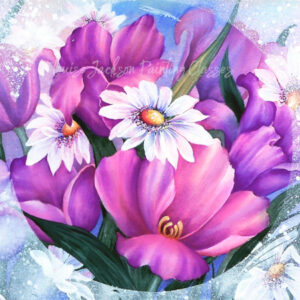
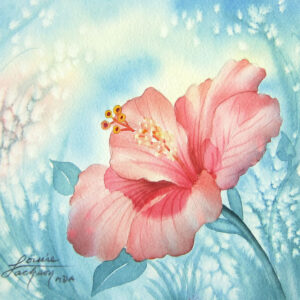
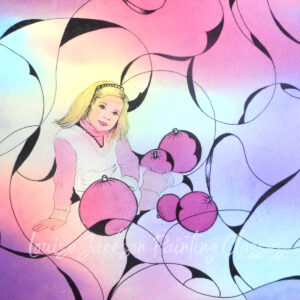
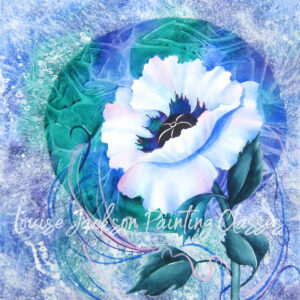
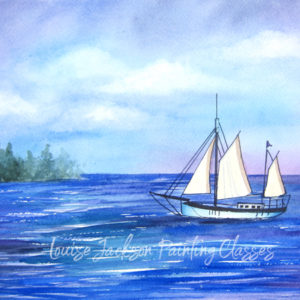
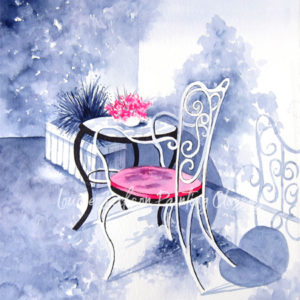
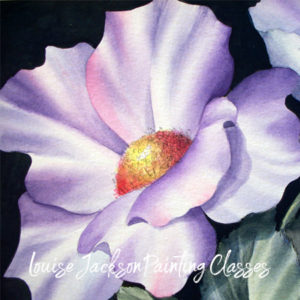
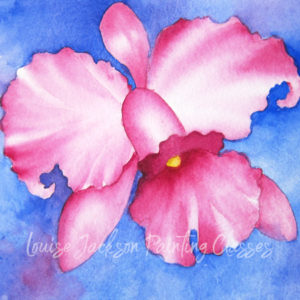
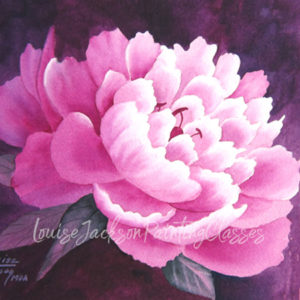
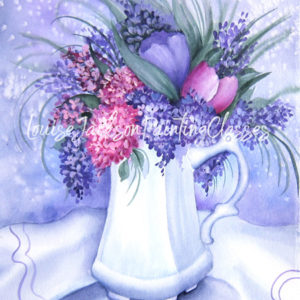
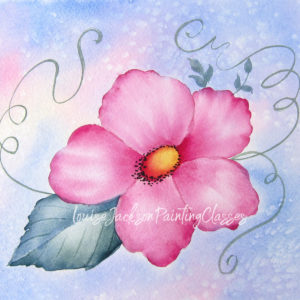
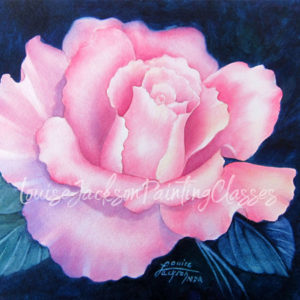
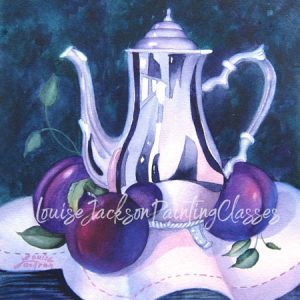
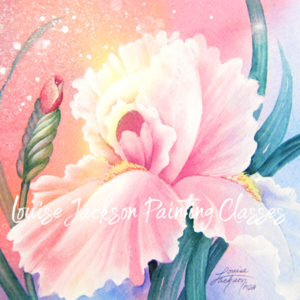
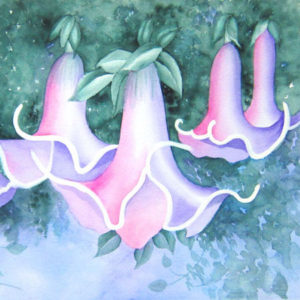
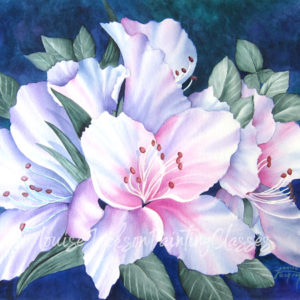
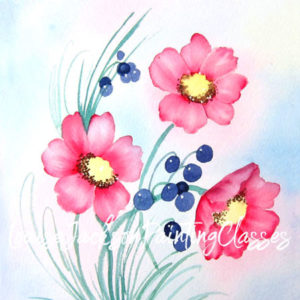
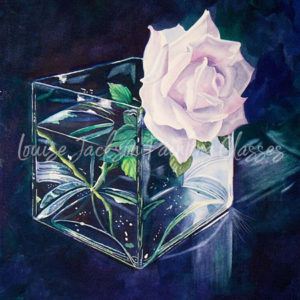
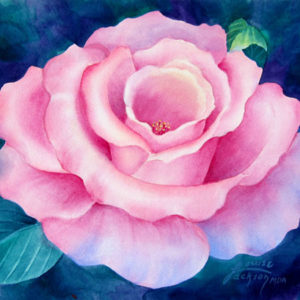
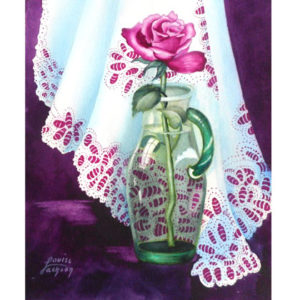
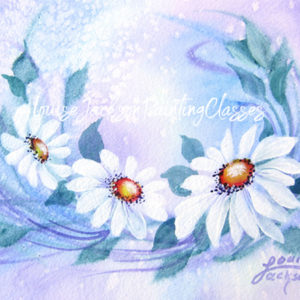
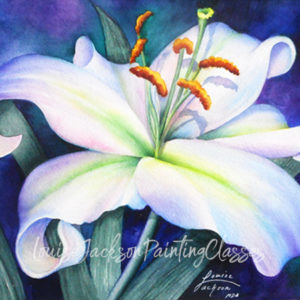
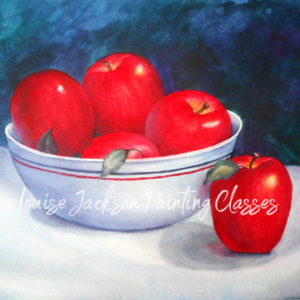
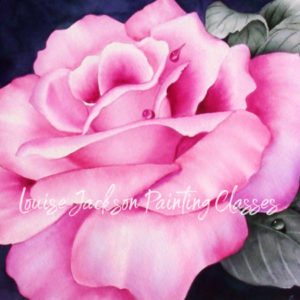
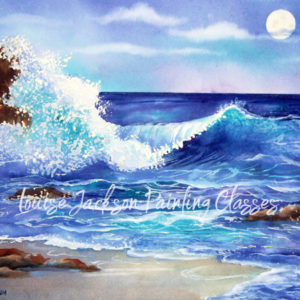
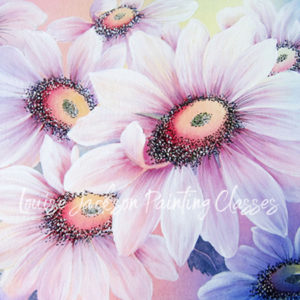
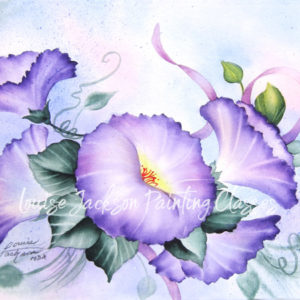
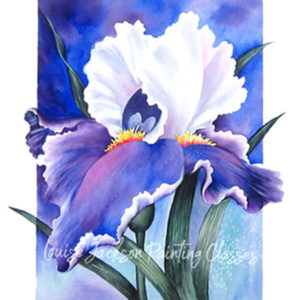
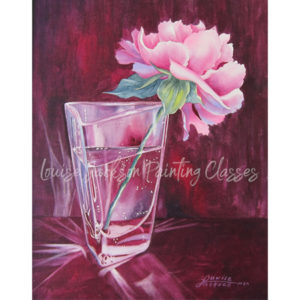
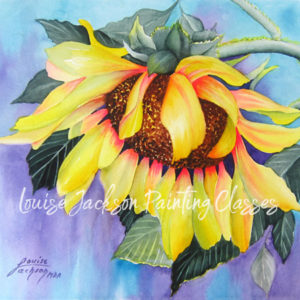
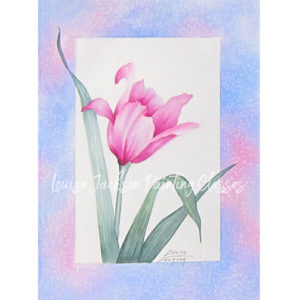
If you love this technique and want to learn more about painting beautiful florals, landscapes, or still lifes with Louise, you can purchase individual painting classes below. Click on the images to see a large image of the full painting along with a picture of the free bonus painting packet.

