Learn an easy technique for painting realistic looking leaves using either watercolor or acrylic paints.
It is essential that you learn to paint leaves if you want to paint flowers and I want to share my tips for making simple yet beautiful leaves to add to your paintings.
Start by watching the video above. You will learn a really simple technique for creating nice basic leaves using any of the paint color mixes below.
Paint Color Options
- Ultramarine blue and Light Yellow (Acrylics)
- Indanthrene Blue and Transparent Yellow (Winsor & Newton Watercolor)
- Shadow Green (Mission Gold Watercolor)
- Prussian Blue and Transparent Yellow (Winsor & Newton Watercolor)
- Burnt sienna Antwerp Blue (Winsor & Newton Watercolor)
- Ultra Marine Blue and New Gamboge (Winsor & Newton Watercolor)
- Winsor Green and Alizarin Crimson (Winsor & Newton Watercolor)

Practice these leaves.
Now that you have a basic understanding of how to paint a leaf you can create any shape and size you need to include in your painting.
Below are some tips for painting the leaves pictured above.
- Leaf #1
- Draw a light outline of your leaf using a pencil onto your watercolor paper.
- Wet the top portion of the leaf.
- Paint the top of the leaf and stem using a thick and juicy mix of any of the paint combinations listed above or use Shadow Green straight out of the tube.
- When the paint dries you can wet and paint the lower portion of the leaf.
- Allow the entire leaf to dry then use the chisel edge of a damp, flat brush to lift out the veins.
- Leaf #2
- Use a damp, flat brush to lift out the color.
- Start at the outside edge of the leaf and work toward the vein area.
- Lift the color and wipe the excess off of your brush.
- Tulip Leaf #3
- Base the leaf with your yellow paint.
- With the chisel edge of a no. 20 flat brush, paint in a dark mix of Antwerp Blue and Burnt Sienna or any paint color you've chosen to use.
- Chisel color to the top and bottom.
- Quickly rinse the brush and remove most of the water until it is a damp brush.
- Pull the color or direct it lengthwise on the leaf.
- Holly Leaf #4
- The holly leaf on the left was based dark and the veins lifted out.
- The one on the right was based the same and the dark was sideloaded in.
- Basic Leaf Shape #5
- The front side (right side) had the color applied to the outside edge and the transition line was blended.
- I left a light area to create a roundness or roll to the leaf (see above right).
- The back (left) side had some dark painted in the area above the vein. This was dried.
- The vein look on this was created by sideloading darker pigment. Start at the outside edge of the leaf and walk the brush over toward the vein. There are three strokes next to the leaf showing paint added to the area above the vein.
- Leaves #6
- Illustration 6 shows the procedure for creating form in the leaf.
- Base the leaf and dry it.
- Paint on the colors as you see them placed—one at a time—and blend out the transition line.
- This is the form that I most often use. It is very basic.
You may choose to use tints and accents as well as stems, tears, flips, and veins.
You will use these techniques when you learn to paint beautiful flowers in any of my online painting classes.
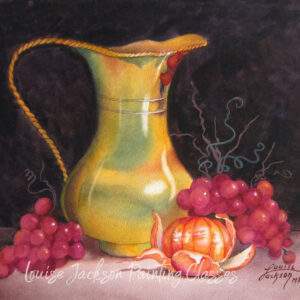
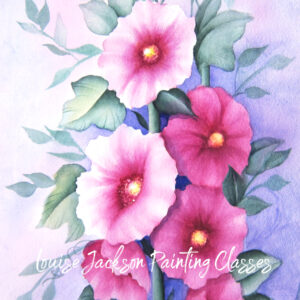
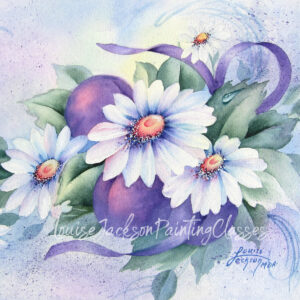
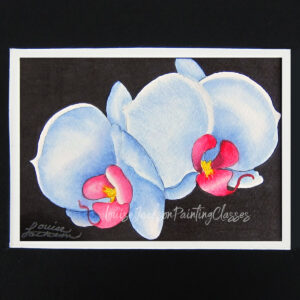
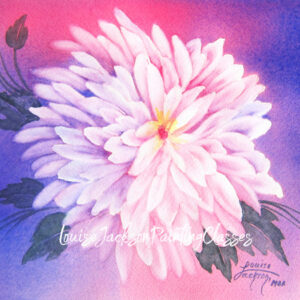
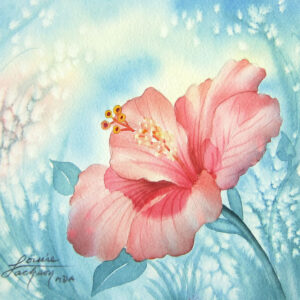
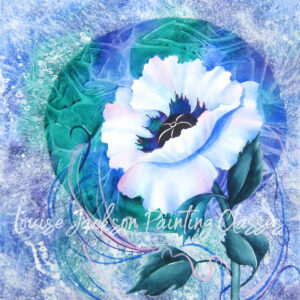
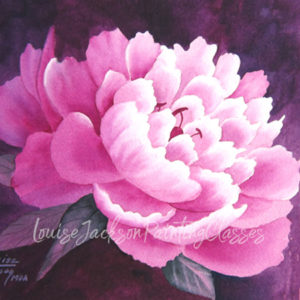
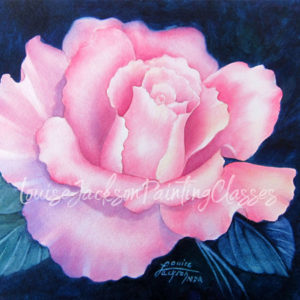
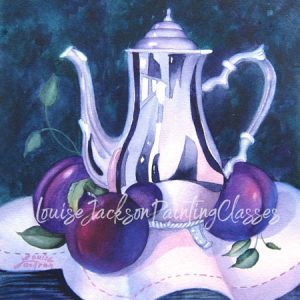
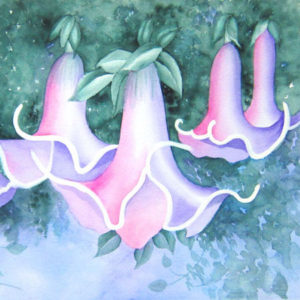
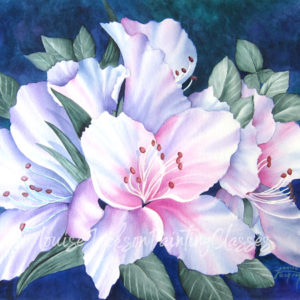
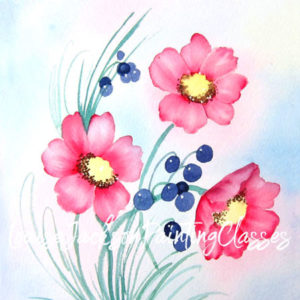
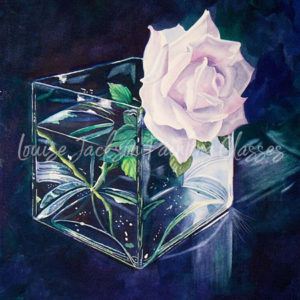
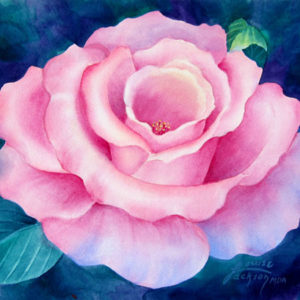
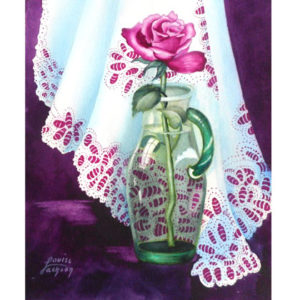
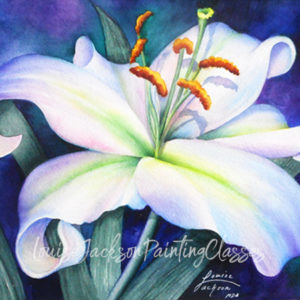
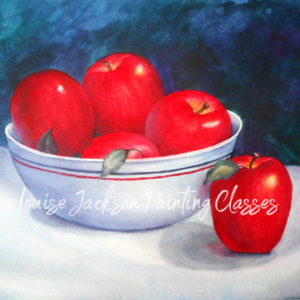
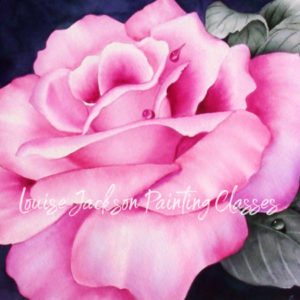
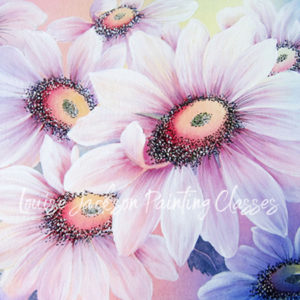
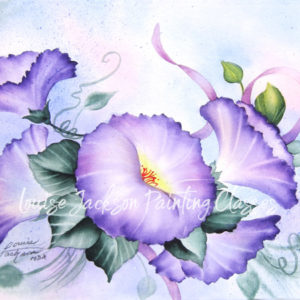
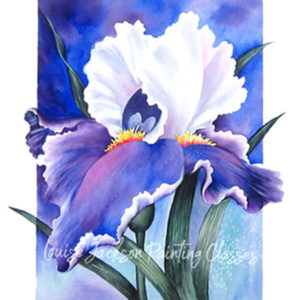
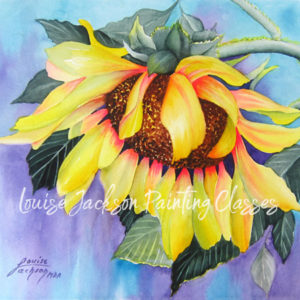
If you love this technique and want to learn more about painting beautiful florals, landscapes, or still lifes with Louise, you can purchase individual painting classes below. Click on the images to see a large image of the full painting along with a picture of the free bonus painting packet.

